How to Update A Bathroom on A Budget without Remodeling
Discover how to update a bathroom on a budget without remodeling. Learn professional design secrets, paint hacks, and high-end styling tips.
How to Update A Bathroom on A Budget without Remodeling
There is a common misconception in the world of interior design that creating a luxurious, spa-like bathroom requires a five-figure renovation budget, weeks of dusty demolition, and a team of contractors. While a complete gut-remodel is sometimes necessary for structural issues, most dated bathrooms simply suffer from a cosmetic identity crisis.
If your tiles are intact and your layout is functional, you do not need to tear down walls to achieve a high-end, editorial look. By focusing on strategic, high-impact aesthetic swaps, you can completely transform your space.
In this comprehensive guide, we will explore how to update a bathroom on a budget using designer-approved techniques, clever DIY projects, and curated styling secrets that deliver maximum visual impact with minimal financial strain.
1. Establish a High-End Color Palette
Before you pick up a paint paintbrush or purchase a single accessory, you must define a cohesive color story. Random, mismatched decor is the fastest way to make a budget update look cheap. To elevate your bathroom, aim for a palette that feels intentional, serene, and grounded in nature.
Here are three designer-curated color palettes perfect for a budget-friendly refresh:
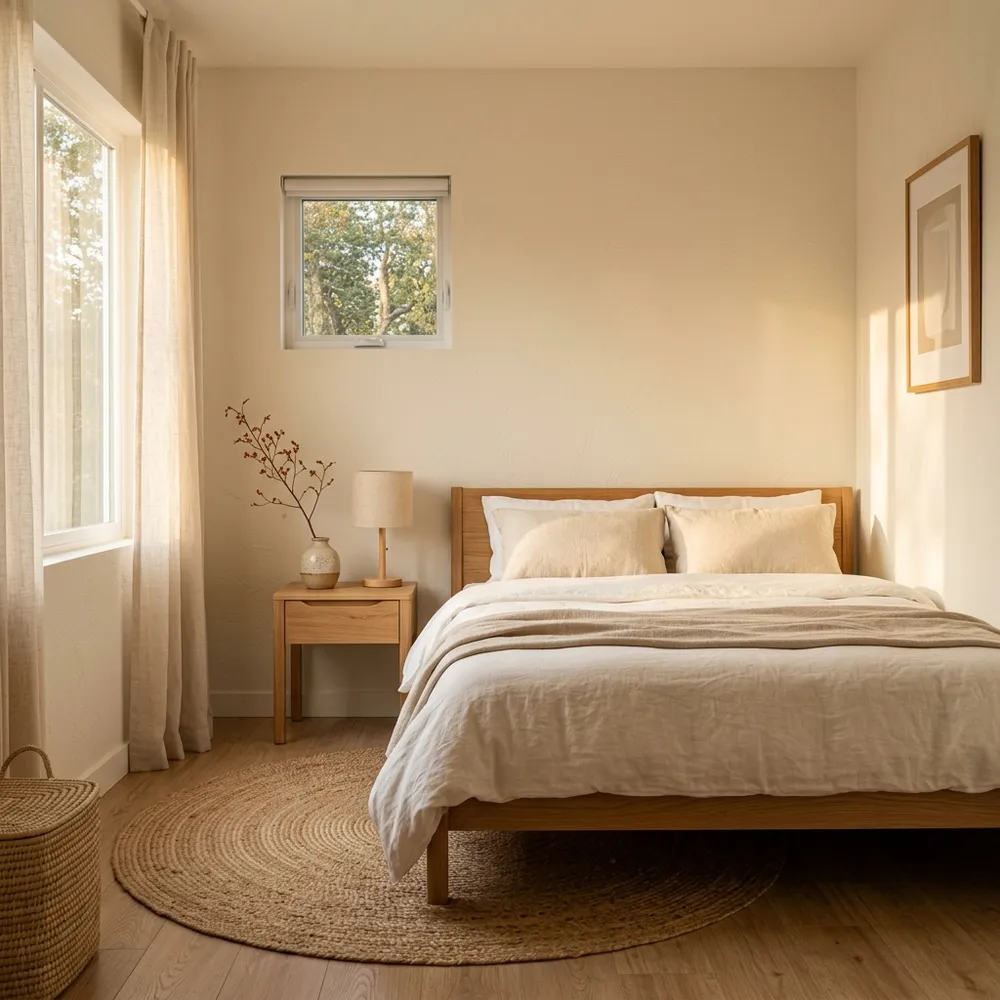
- The Warm Minimalist: Creamy alabaster walls, warm oak wood tones, soft beige textiles, and brushed bronze hardware.
- The Moody Sanctuary: Deep charcoal or forest green cabinetry, crisp white walls, Turkish cotton textiles, and matte black fixtures.
- The Classic Parisian: Bright chalk-white walls, soft dove grey vanity, polished chrome hardware, and elegant marble accents.
Once you have chosen your direction, your first major task is to address the largest surface area in the room: the walls and the vanity.
2. Transform the Vanity with Cabinet Paint
The vanity is almost always the focal point of a small bathroom. If you are looking at a dated oak or generic white builder-grade vanity, do not replace it. Painting your existing vanity is one of the most cost-effective ways to execute a dramatic transformation.
The Step-by-Step Vanity Refresh:
- Prep is Key: Remove the cabinet doors, drawers, and all hardware. Clean every surface thoroughly with a heavy-duty degreaser like TSP (trisodium phosphate) to remove years of hairspray, oils, and soap scum.
- Sand Lightly: Use a medium-grit sanding block (around 120-grit) to scuff up the surface. This creates "teeth" for the primer to cling to.
- Prime with a Bonding Primer: Do not skip this step. Use a high-quality, oil-based or shellac-based bonding primer (such as Zinsser B-I-N or Kilz Adhesion) to ensure your paint adheres permanently and won't peel in a high-humidity environment.
- Paint with Cabinet-Grade Enamel: Apply two coats of a premium satin or semi-gloss trim paint (such as Benjamin Moore Advance or Sherwin-Williams Emerald Urethane). These paints cure to a hard, durable finish that mimics factory-baked cabinets and resists water damage.
3. Elevate the Hardware and Fixtures
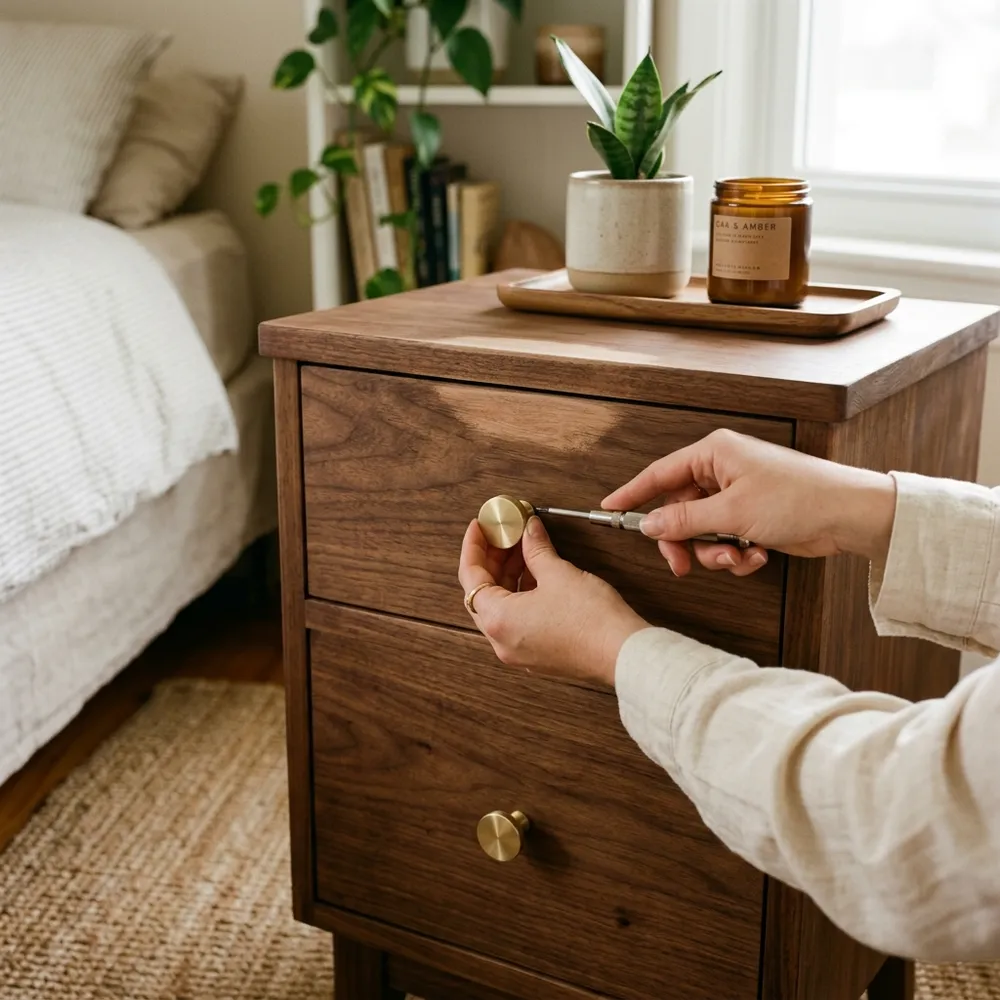
If hardware is the "jewelry" of the home, then changing your cabinet pulls, faucets, and showerheads is the equivalent of accessorizing a simple black dress. It instantly elevates the entire look.
When considering how to update a bathroom on a budget, replacing a dated, water-spotted chrome faucet with a modern matte black or champagne bronze option is a non-negotiable step.
How to Choose Finishes Like a Pro:
- Embrace Matte Black: Matte black is incredibly forgiving, hides water spots well, and adds a graphic, modern edge to traditional spaces.
- Opt for Warm Brass: Avoid shiny, yellow-brass finishes from the 1990s. Instead, look for "brushed brass," "champagne bronze," or "satin gold" for a warm, sophisticated glow.
- Don't Fear Chrome: If you are on an ultra-tight budget, polished chrome is often the most affordable finish. Pair it with crisp white walls and dark grey cabinetry for a chic, timeless aesthetic.
Design Tip: Ensure all your metal finishes coordinate. While you can mix metals (e.g., matte black light fixtures with brass cabinet pulls), keep them consistent within their visual planes to maintain harmony.
4. Upgrade Your Mirror and Lighting
Standard builder-grade bathrooms almost always feature two things: a giant, frameless sheet mirror glued to the wall and a clinical, multi-bulb "boob light" or bar vanity light. Replacing these two elements will instantly alter the scale and atmosphere of the room.
Framed and Sculptural Mirrors
Instead of a basic rectangular mirror, opt for a mirror with architectural interest. A round, oval, or arched mirror breaks up the harsh, straight lines common in bathrooms. If you cannot remove your glued-on sheet mirror without damaging the drywall, you can buy or build a custom wood frame to mount directly on top of the glass using mirror-safe adhesive.
Layered, Warm Lighting
Swap out harsh, daylight-tinted bulbs for warm white bulbs (2700K to 3000K). Replace your overhead vanity light with a fixture that directs light downward or features milk glass globes to diffuse the glow. If space permits, adding a small, battery-operated accent lamp on the vanity countertop adds an unexpected, cozy touch of luxury during evening baths.
5. Revitalize Dated Flooring and Backsplashes
Replacing ceramic tile is expensive, messy, and labor-intensive. Fortunately, modern DIY products allow you to cover up unsightly floors and backsplashes without touching a sledgehammer.
High-Quality Peel-and-Stick Vinyl Tiles
For sheet vinyl or outdated ceramic floors, high-quality peel-and-stick vinyl tiles are a game changer. Brands now offer thick, textured tiles with gorgeous geometric, Moroccan, or faux-marble patterns. When installed correctly over a clean, level surface and sealed around the edges with silicone caulk, they are highly water-resistant and can last for years.
Tile Paint and Grout Refresh
If your wall tile is in good shape but the color is offensive (think 1970s pink or beige), you can use a specialized tub and tile refinishing kit to paint it a crisp, clean white. If your tile is fine but the grout is stained, use a budget-friendly grout pen to paint the grout lines. Changing stained beige grout to a clean white or a contrasting dark charcoal can make old tile look brand new overnight.
6. Curate with High-End Textiles and Decor
The final step in learning how to update a bathroom on a budget lies in the art of styling. This is where you inject personality, texture, and warmth into the space.
- Ditch the Plastic: Replace plastic soap dispensers with amber glass or ceramic pump bottles.
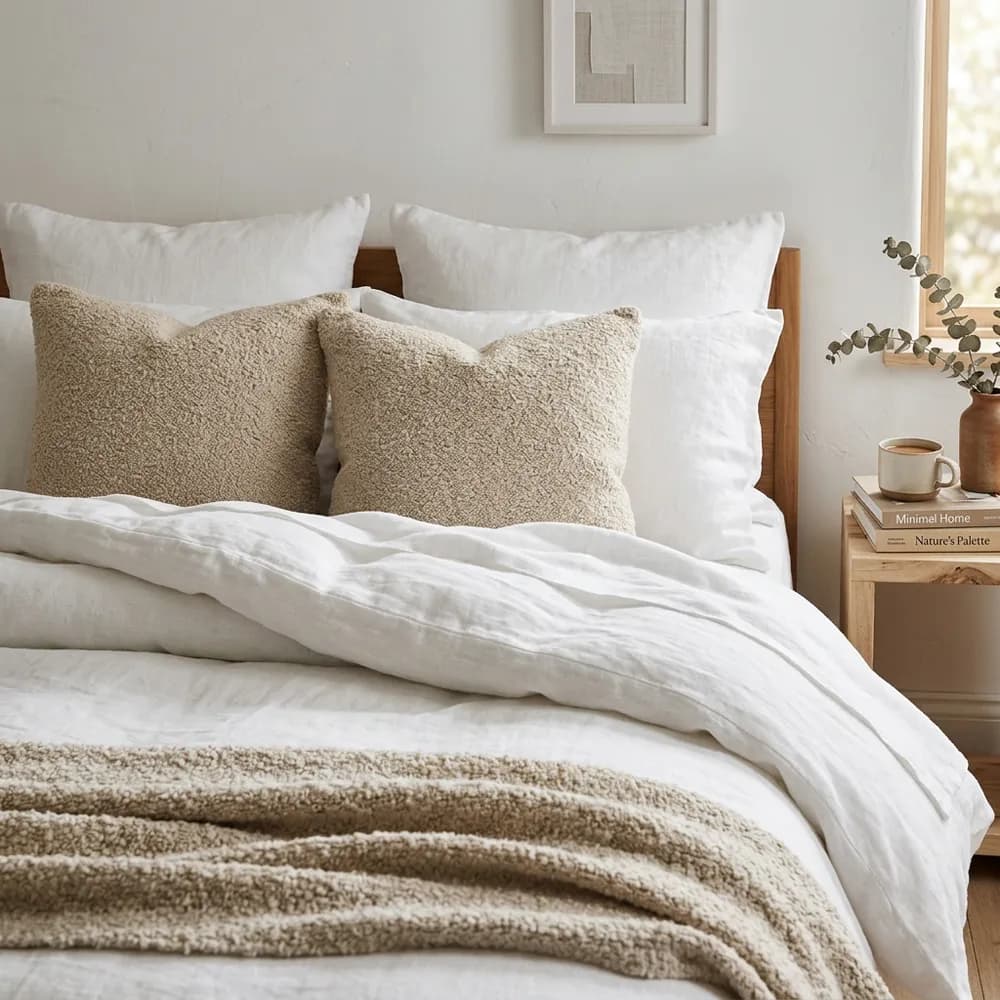
- Invest in Luxury Textiles: Buy a set of high-quality Turkish cotton hand towels. Hang a waffle-weave or linen shower curtain close to the ceiling rather than right above the tub; this draws the eye upward and makes the ceiling feel taller.
- Add Wood Elements: Introduce organic textures with a small wooden stool next to the tub, a woven seagrass wastebasket, or floating oak shelves loaded with rolled towels and a small candle.
- Bring in Life: Bathrooms are high-humidity environments, making them perfect for moisture-loving plants. Hang a bundle of fresh eucalyptus from your showerhead, or place a potted pothos or snake plant on a shelf to instantly breathe life into the room.
By focusing on these thoughtful details, you can turn a basic, utilitarian bathroom into a curated sanctuary—all without spending a fortune on a remodel.
Frequently Asked Questions (FAQ)
Q: Can you really paint bathroom wall tiles, and does it hold up over time?
A: Yes, you can paint ceramic wall tiles using specialized epoxy-based tile paint kits. While it is highly durable for backsplash areas and walls, it may require touch-ups over time in high-moisture areas like the direct interior of a shower stall. Proper prep—including deep cleaning, sanding, and using the correct epoxy paint—is crucial for longevity.
Q: What is the most cost-effective way to hide an ugly builder-grade mirror?
A: The most budget-friendly option is to build a DIY wood frame. You can buy inexpensive wood trim at a local hardware store, cut it to size with mitered corners, stain or paint it, and adhere it directly to the face of the mirror using heavy-duty construction adhesive or mirror-safe tape.
Q: How can I update my bathroom floor on a budget if I rent my home?
A: High-quality, removable peel-and-stick vinyl floor tiles are the perfect solution for renters. They can be laid directly over existing sheet vinyl or flat tile, are easy to clean, and can be peeled up without damaging the subfloor when it is time to move out.
Q: How do I make a small bathroom look larger without changing the layout?
A: To make a small bathroom feel more expansive, paint the walls and ceiling the same light color to eliminate harsh visual boundaries. Additionally, hang your shower curtain rod as high as possible (near the ceiling line) and use a clear glass panel or a light-colored, lightweight shower curtain to keep sightlines open.
Love these ideas?
Save this article to your Pinterest board for later inspiration!